You can crop an image by using the Crop tool, the Crop command, or the Trim command.
Ctrl Z undoes the last operation; to undo more than one operation, use Alt Ctrl Z or use the History Panel.
Choose Crop Tool (3rd from top on left). Drag a marquee over the part of the image you want to keep.
To do the crop, do any of the following: hit Enter, double click inside the marquee, or right click the image and choose Crop. To cancel a crop marquee, press Esc or right click and choose Cancel
Exercise: Crop the two women photo to focus attention on the women's faces.
To crop an image to a specified numerical size, choose the Crop tool and in the Options bar emter specific Width and Height values and units for the final image in the two rectangles on both sides of the double arrow. Drag a marquee on the image; the marquee will be the size that you specified in the options bar. Accept the crop as above. Note: While the marquee before the crop appears to be the wrong size, according to the rulers, after the crop is accepted, the image is the correct size.
Exercise: Crop the above image to a width of 6" and a height of 4". Verify this by checking the rulers; if they aren't displaying (View>Rulers).
To crop an image to the size of another image, open the other image and click Front Image on the options bar and then click back on the window or tab of the document to be cropped, then draw the marquee and accept it as above.
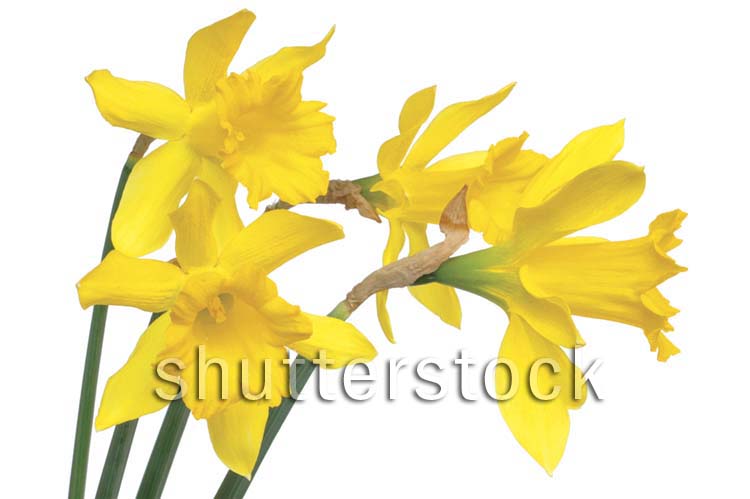
Exercise: Crop the above image using the size of the flowers image from the previous exercise.
Choose a background color (see p. 191); one way to do this is to click on the background color on the Tools panel and then select a background color from the Color Picker. Choose the Crop Tool and drag a marquee within the image. Drag any of the handles of the marquee into the work canvas (outside of the live canvas area). Accept the crop as before.
If the image has a background (look on the Layers Panel - Window>Layers to display) the added canvas will display with the current background color. If the image contains layers but no background, the canvas area will fill with transparent pixels.
Exercise: Extend the canvas area of the two women photo at the bottom with a light pink background.
Choose the Rectangular Marquee tool (top row, left) and then do either of the following:
To scale the marquee, right click in the marquee area and choose Transform Selection and then drag the handle, then double click inside the marquee to accept the edit
After the marquee is the desired size, choose Image>Crop, then deselect (click off the image or Ctrl-D) and then reset the default behavior of the Rectangular Marquee tool by choosing Style:Normal in the Options bar.
Exercise: Using the Crop Command, crop the above image with a fixed ratio of 4:6 and then crop to a fixed size of 2" x 2".
The Trim command trims away any excess transparent or solid-color areas from around the image. You still wind up with a rectangular image. Choose Image>Trim to display the Trim dialog box
Check which areas of the image you want the command to trim away: Top, Bottom, Left, and/or Right. Click OK. Note
Exercise: Using the Trim command, trim the above image choosing top left pixel color and then choosing bottom right pixel color. Note that there is no trimming; perhaps the adjacent pixels are too different in color. Then enlarge the canvas using the Crop tool, setting the Background color. Then repeat the trim exercise for top left and bottom right, and then repeating with only certain areas of the image to be trimmed away. Here this works, perhaps due to the uniformity in color of the pixels that were added.
Choose the Crop tool and drag a marquee diagonally across the entire image, from one corner to the opposite corner. Shift drag a corner-ahndle to resize the marquee proportionately. You can drag within the marquee to reposition it. Accept the crop as usual (double click inside the marquee, right click and choose Crop, or hit Enter).
Exercise: Use the flowers image to crop according to the existing aspect ratio, shift-drag a a corner handle and then move the marquee to the desired place.
To flip an image, choose Image>Image Rotation>Flip/Horizonal or Flip Vertical/Flip Canvas Vertical.
Choose Image>Image Rotation>choosing 180 degrees, or 90 degrees CW (clockwise) or CCW (counterclockwise).
Exercise: Using the flowers image, make the flowers point left. In a later exercise, we will see how to flip one layer at a time, thereby permitting the text to be readable again.
Choose the Ruler Tool (underneath the Eye Dropper Tool, third row, right). Drag along a feature you wnat to orient horizontally or vertically, noting the angle on the Options bar as you do so. Choose Image>Image Rotation>Arbitrary -- the angle from the previous step will appear in the Angle field. Click OK -- then use a cropping method to remove any background color areas that the rotation produced.
File>Automate>Crop and Straighten Photos attempts to automate this process. Note: This process didn't work well on the straighten image photo, cropping far too much.
Exercise: Using the straighten image, straighten and remove any resulting background areas using manual methods, and then repeat using the automated method. (I had trouble removing the background areas produced by the rotation using the Trim command so I used the other methods).
Revised October 20, 2018. Comments to Bill Pegram, wpegr am@nvcc.edu