Notes from Teach Yourself Macromedia Fireworks MX in 24 Hours
Chapter 4 - Working with Bitmap Images
Fireworks' native format (png) is 32 bit, which supports both 24 bit FGB color and 8 bit alpha channel for transparency masking
If you click on Pointer tool, then canvas, you can set canvas and image size - changing canvas size appears to change image size in some cases but does not resample, as does changing image size directly, so if the goal is to change image size, better to change image size. From the menu, it's Modify>Canvas>Image Size or Modify>Canvas>Canvas Size
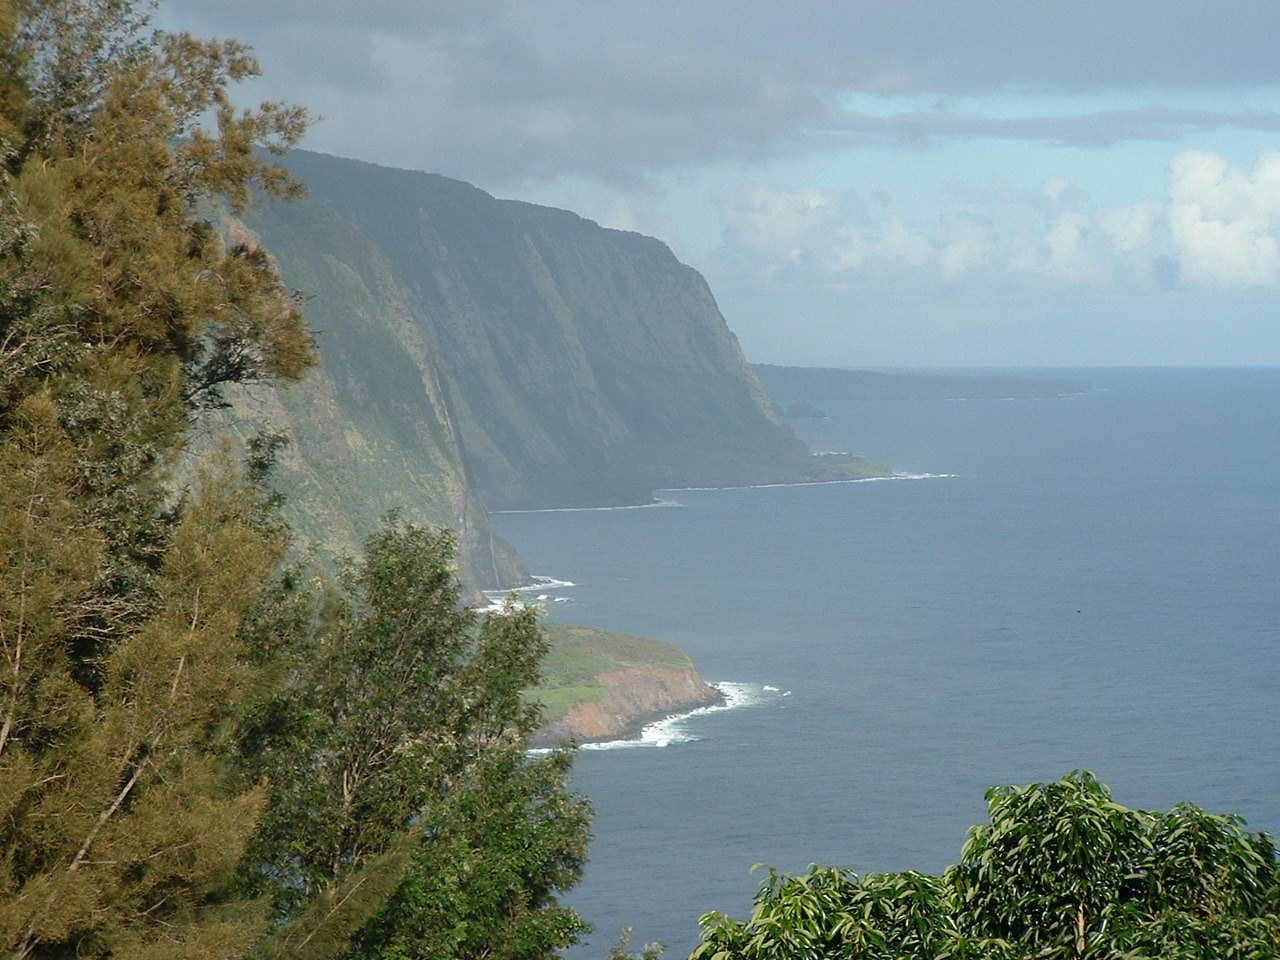
Task: Change Image and Canvas size with honokaa_coast image
Layers Panel - Windows>Layers - the web layer can't be renamed, the only content allowed here is web slices - Hidden layers are not exported with the image -- to rename a layer, double click it -- sharing across frames has to do with animation, which we will do later; New/Duplicate button - New - just click button; Duplicate - drag existing layer over button
Colors - additive color (RGM) on screen whereas print uses subtractive color since paper reflects light and absorbs some colors (cyan, magenta, yellow). Window>Color Mixer allows one to specify stroke color and fill color. These can also be specified in the Tools panel on the left.
Swatches Panel - This panel allows you to a swatch of a color for reuse later. Pick a color from Mixer for either stroke or fill, then select Swatches panel, mouseover gray area at bottom and the cursor will change to a paint bucket, click to add this color to your swatches palette. Clicking on a color in the swatches panel will automatically change either the stroke or fill color, depending on which was used last. Options palette gives you a variety of alternatives, including saving a palette (.act extension)
Drawing and Painting Tools
Pencil tool - Click on pencil and draw, single pixel stroke, hold down shift key to constrain to 45 degree lines. Properties inspector - anti-aliased (adds some shaded pixels to make things look smoother; auto-erase - if you click an existing area, it will be erased, preserve transparency -- will prevent you from editing areas of pixels that are transparent; opacity and blending mode
Brush tool - Shift constrains to 45 degree lines. Stroke color, width, style (in drop down list is Stroke Options, which allows you to specify the type of stroke and various options and then (by clicking the plus sign at the bottom of the Stroke Options panel) save this custom stroke in a particular category of stroke and it will then be available to you later on in this category; Various blending modes (p. 90) which affect how the applied color affects the base color to which it is applied
Eraser tool - Again can set properties or erase tool in property inspector. Holding down shift will constrain to a straight line
Task: Working with layers and the brush tool (p. 91) starting with blank canvas
Chapter 5 - Editing Bitmap Graphics
Pointer tool - only selects an object on an active layer and which is visible. Click on it and blue box appears around object
When the pointer tool is selected, you can browse the objects on the canvas by mousing over them. When the mouse is over a selectable object, a red highlight box will surround the object. Click to select it and the box changes to blue.
You can use arrow keys to move the object as well.
You can resize a bitmap by dragging the boxes at the corners. Shift constrains the height and width ratio to remain the same during this resizing
Crop Tool - Click on tool and then draw rectangle. One can adjust the size of the rectangle by adjusting any of the handles that appear around the rectangle. To actually crop, double click the rectangle or select Edit>Crop Selected Bitmap
Marquee tools (Marquee and Oval Marquee Tools) Hold down shift key to make rectangle a square (rectangular marquee tool) or a circle (oval marquee tool). One can determine in the property inspector the edge for the marquee.
Lasso tools - Lasso and Polygonal lasso - for the latter, you click to define the vertices of the polygon. After you've created it, you can change the selected pixels by using the arrow keys or entering the size and position directly in the property inspector
Magic Wand Tool - Selects a contiguous area of similarly colored pixels - Tolerance setting determines what "similarly colored" means - a tolerance setting of 16 means that pixels plus or minus 16 in each of the red, green, and blue dimensions are selected.
Adding and subtracting to a selection (works with any of the bitmap tools) - To add, with an area of pixels selected, hold down Shift and start an additional selection on an unselected portion; to subtract, hold down Alt and choose an already selected portion of the object
Paint Bucket Tool - fills a selection with a solid, web dither, or pattern (tiles an existing .png image for the fill)-- additional options of edge, texture, tolerance, fill selection, transparency, blending mode, and preserve transparency (defined on p. 106)
Drawing and Painting with Selections - When an area of a bitmap is selected, the Pencil, Brush, and Eraser tools will affect only the selected area
Selection Options from Menu - particularly important is Select Inverse
Filters (e.g. adjust color, blur, other, sharpen, third party filters such as Eye Candy 4000 LE or Alien Skin Splat LE) are destructive, they change the value of pixels within a selection whereas effects are not
Selections from edit menu - cut, copy, paste, clear
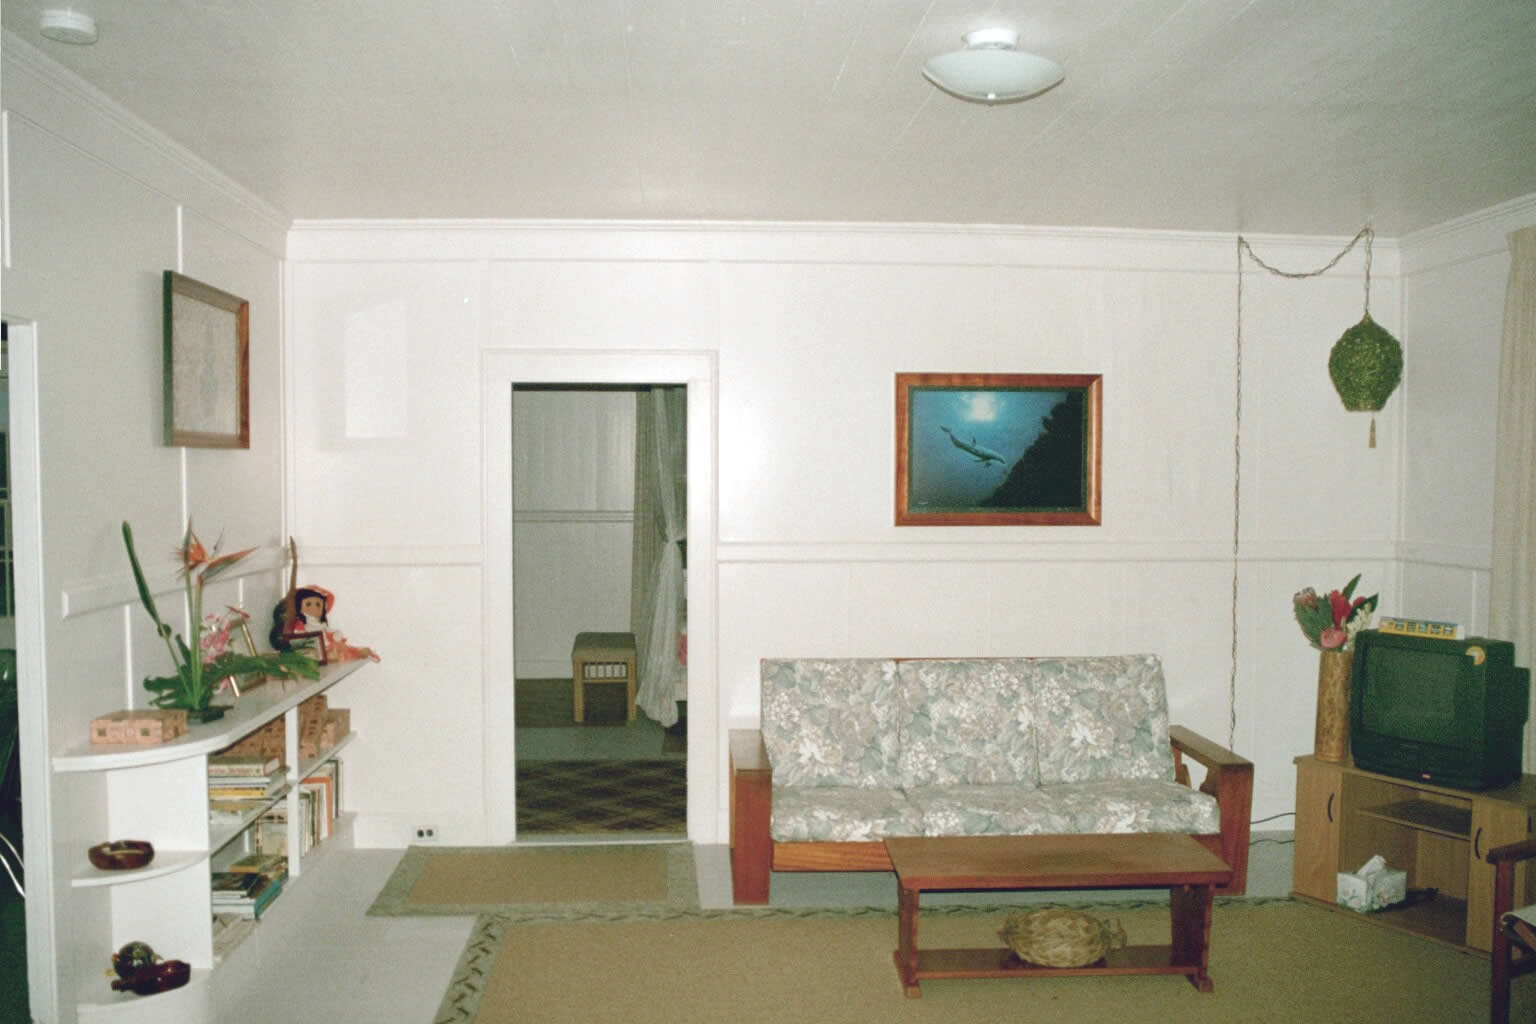
Task: Remove Objects from a Photo with the Selection Tools - family_room image (p. 111-115)
Transforming bitmap objects - Modify>Transform>Free Transform - Info panel can provide details on how far you've moved a handle or angle of rotation
Modify>Transform>Scale - handles on each side to adjust in one dimension, at corners to adjust in two dimensions, to move image, click drag within the selection, to rotate an object, click outside the box and rotate; to change the center of rotation, click the circle in the center and drag it to where you want it to be; Double clicking will apply changes
Modify>Transform>Skew - create perspective effects - grabbing a handle on one of the sides will move that side parallel to the opposite side (rectangle into parallelogram), grabbing a handle on one of the corners will move each corner on that side an equal distance from the center (rectangle into trapezoid)
Modify>Transform>Distort - each corner can be moved independently - dragging any other handle will adjust the size of the object
Modify>Transform>Numeric Transform - Scale (percentage), Resize (pixels), Rotate
Applying Effects to Bitmap Objects - Effects are available on the right hand side of the property inspector when an object is selected with the Pointer tool - Click on plus sign to see a list to add: Bevel and Emboss, Shadow and Glow (drop shadow, glow, inner glow, inner shadow -- each of these have settings - Clicking the check mark next to an effect will turn it off, clicking the red X will turn it on, double click the effect name to change the settings, and click the minus sign to remove it, click drag an effect up or down to change the order in which the effects are applied. If you click the plus sign, one of the choices is Options, which allow you to save a set of effects as a style and a all on/off toggle which turns all the chosen styles on and off together.
Task: Compose Objects with Transform and Add Effects - using image saved from previous task (p. 120-124)
Revised: October 10, 2003. Comments to William Pegram, wpegram@nvcc.edu