The purpose of all selection method is to isolate part of an image for editing.
On the Layers panel, do either of the following: click a layer or the Background, then choose Select>All or to select only the nontransparent areas on a layer, right click on the thumbnail and choose Select Pixels.
Exercise: Use the layers file from the previous exercise for this.
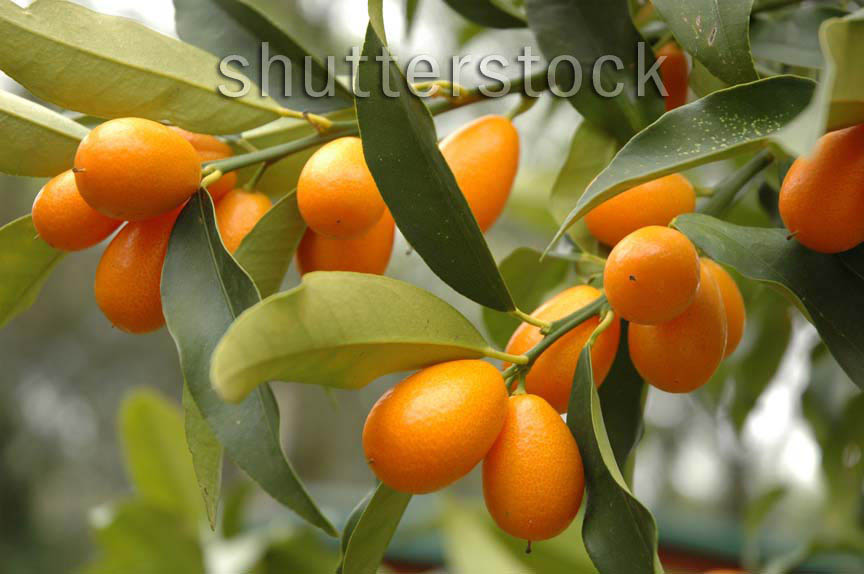
Example file: the Quick selection tool image
Click a layer and choose the Rectangular or Elliptical Marquee tool. Drag diagonally; hold down the shift key for a square or round selection. To add to the selection, shift-drag again; to subtract from it, alt-drag. To move the marquee after releasing the mouse, drag inside it with any selection tool. The dimensions of the marquee are shown in the W and H areas on the Info panel. To deselect, choose Select>Deselect. To create a selection using a fixed ratio, choose Fixed Ratio in the Style drop down menu in the Options panel; to create a selection of a fixed size, choose Fixed Size in the Style drop down menu in the Options panel.
Using the Lasso tool, drag around an area. To add to the selection, shift-drag; to subtract from the selection, Alt-drag. To make a straight side with the Lasso tool, hold down the Alt key.
The Polygonal Lasso tool is used to create a straight-ediged selection. Click to create points. To create an absolute vertical or horizonal edge, hold down Shift as you click. To join the open ends of the selection, either click the starting point or double click anywhere in the document window. To erase the last corner, press Backspace or Delete. Hold down the alt key to make a free-form selection.
The Quick Selection tool, the Magic Wand tool, and the Color Range command create selections based on color similarities in the areas of the document and thus can make doing selections much easier where the area you want to select has well-defined borders.
Click the Quick Selection tool (2nd row, right) and check Auto-Enhance in the Options bar for improved edge detection. From the Brush Preset picker, choose a diameter for the brush. Drag within the area you wan to select.
Exercise: Follow the steps shown in the 8 images on p. 126-127.
Click a layer and choose the Magic Wand tool (2nd row, right, underneath Quick Selection tool). On the Options bar
To add to the selection, shift-click; to subtract from the selection, Alt-click them. You can change the Tolerance value in between clicks.
Exercise: Repeat the steps shown for the Quick Selection tool, but now use the Magic Wang tool.
On the Layers panel, click a layer. Using any method, select the background areas behind an object, press Backspace/Delete, and then choose Select>Deselect. Alternatively, select the object, and then choose Select>Inverse to change the selection to everything else, then press Backspace/Delete.
Click a layer. You can optionally confine the selection by selecting an area of the layer. Choose Select>Color Range and then choose either Sampled Colors (colors you'll pick with the eyedropper), a specific color range, or a luminosity range. To add more colors, shift-click, to remove colors, alt-click. To expand the range of the selected colors, increase the Fuzziness setting.
Choose a Selection Preview optin fo the selection in the document and then click OK. You can limit the selection to contiguous pixels by making your color selection with the eyedropper, then checking the Localized Color Clusters box in the Color Range dialog box and adjusting the Range value, and then click OK.
Source: Photoshop CS4 Visual Quickstart Guide, by Elaine Weinmann and Peter Lourekas, pp. 123-131